The Media Library
All media for your site is managed through the Media Library, the central repository for your images, audio, and videos. It can be accessed by clicking the Media Library icon in the admin dashboard.
Many blocks can display the media you’ve uploaded here (as well as offering the ability to upload media from within the block itself), but you’ll find the most exhaustive media options here—including the ability to crop, resize, and compress images.
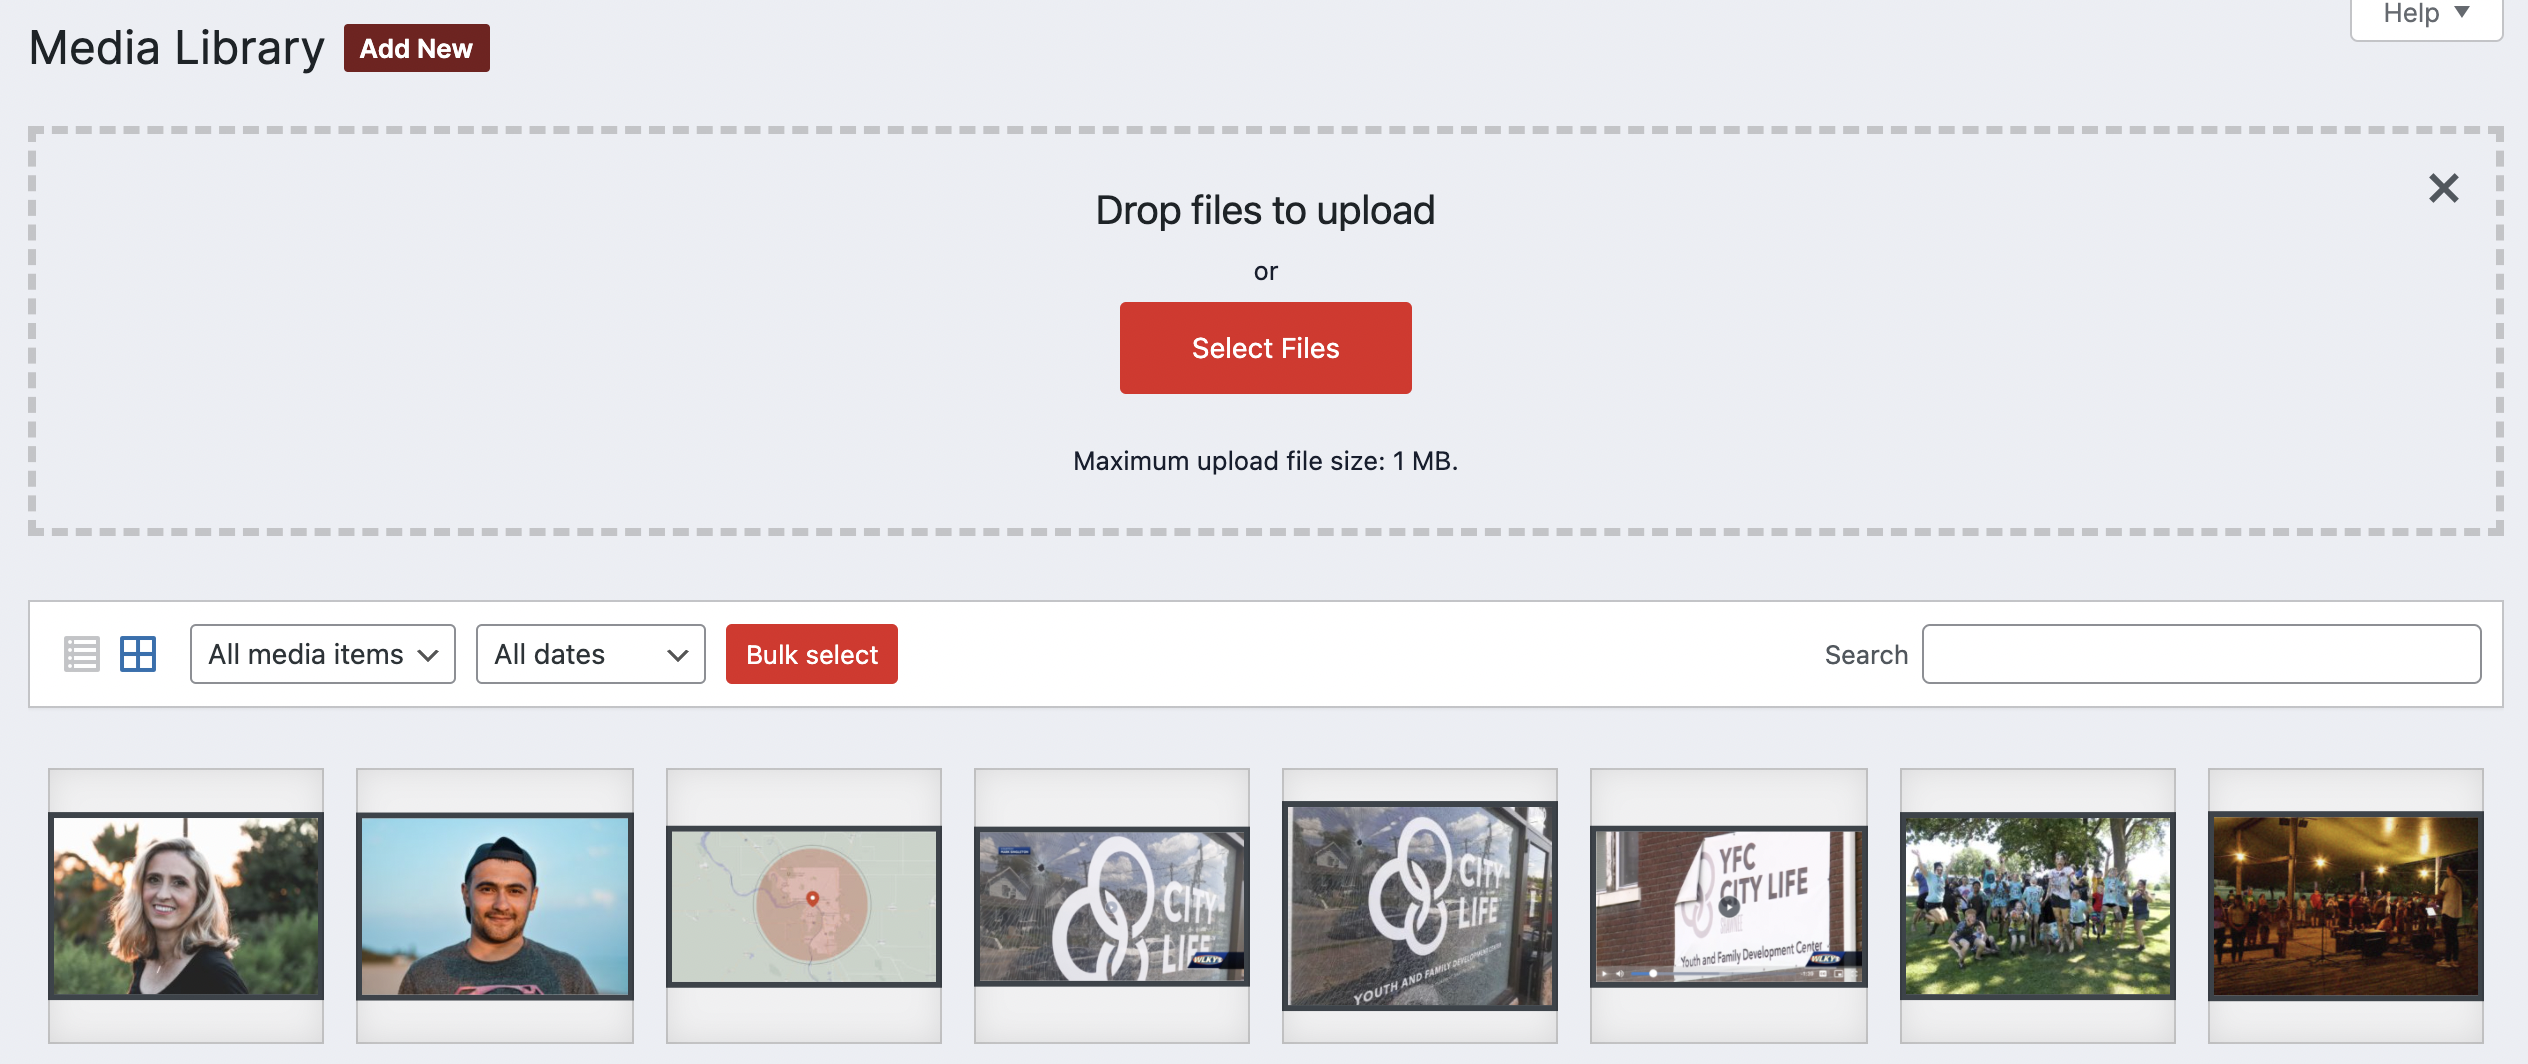
You can filter by media type, upload date, or by search term.
Adding and deleting media
You can add new media by:
- Hovering over Media and clicking Add new
-
Clicking Media to navigate to the media library and clicking Add New
-
Or by dragging and dropping a file on to the page
- By clicking the Add Image or Add file button within a block
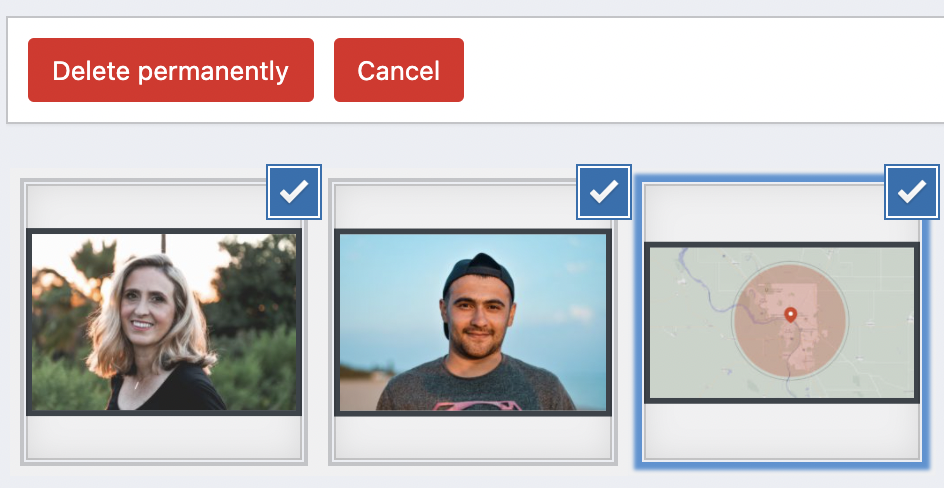
To delete media:
- Click Media to navigate to the media library.
- Click the media you wish to delete.
- Click Delete permanently in the bottom right of the modal.

You can also click Bulk select items to delete them permanently.
Editing media
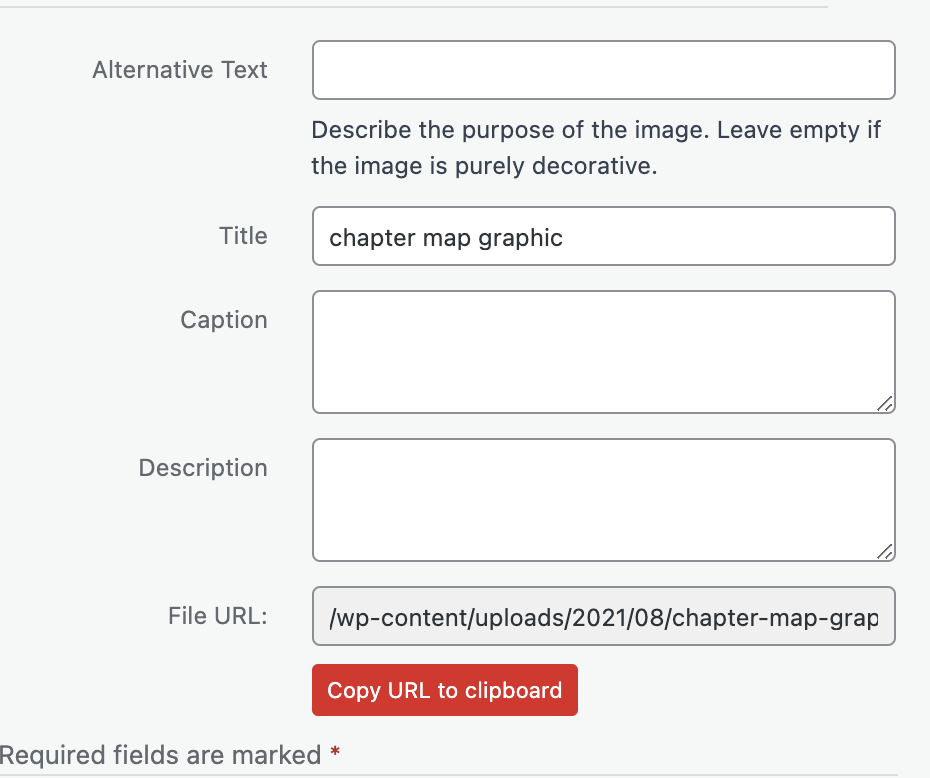
Clicking on a piece of media reveals its properties and, if an image, some additional options:
- Alternative text: (Images only) Descriptive text for images, used for accessibility devices, like screen readers. Try to have alternative text for as many images as you can—it ensures all visitors can enjoy your content and also helps with your SEO.
- Title, Caption, and Description: Three descriptive properties that can be used to help find a piece of media. These properties do not appear to your visitors. These properties are usually pre-filled by a file’s metadata when first uploaded to the library.
- File URL: The direct link to the media. This property cannot be updated.
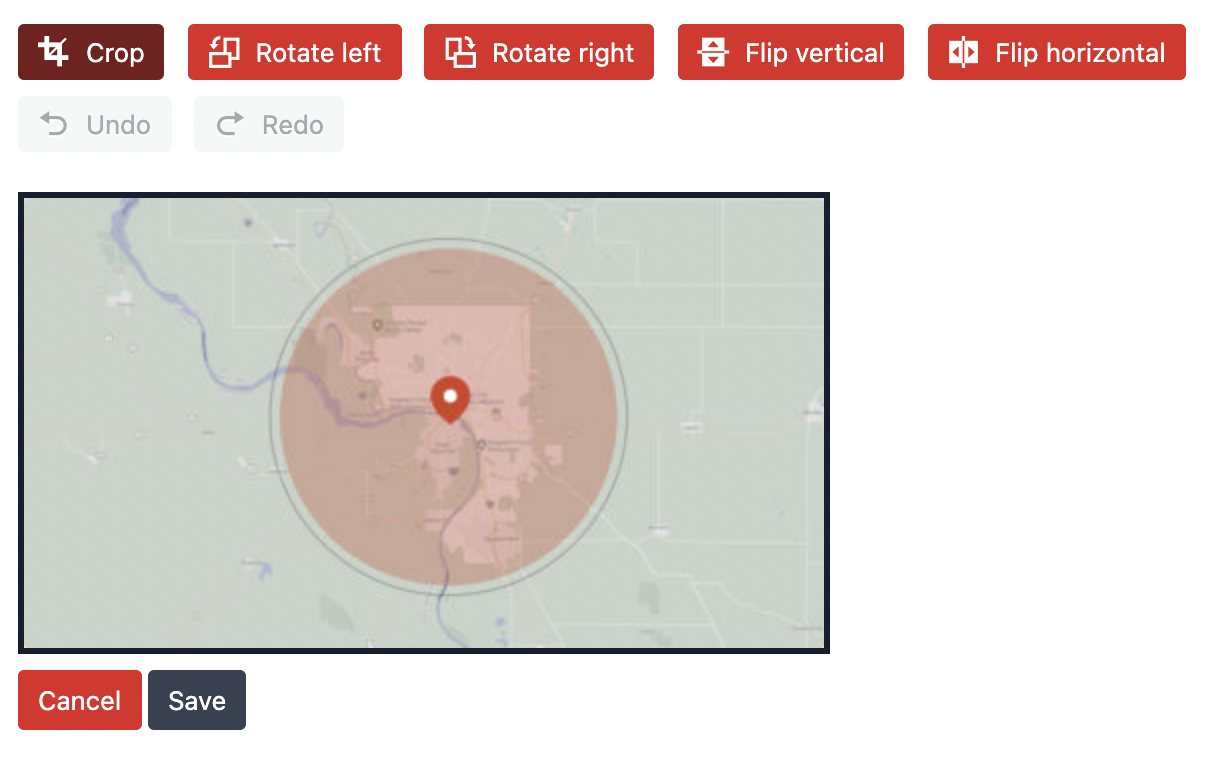
Editing images
Images have additional options when accessed from the media library. By clicking Edit Image you’ll see many image editing tools, including cropping, rotating, and flipping options. These changes are not saved until you click the Save button, and all changes can be discarded by clicking Cancel.
Scale Image: Used to resize the image while retaining the image’s aspect ratio.
Image Crop: When the Crop tool is selected, this section displays the properties of the current crop. To finish cropping an image, click Crop once to begin cropping and click it again to confirm the crop.
Thumbnail Settings: Determines how the preview of the selected image renders.
To revert any changes made within this menu, even at a later data, click the Restore Original Image header and then click Restore image.
Compressing images
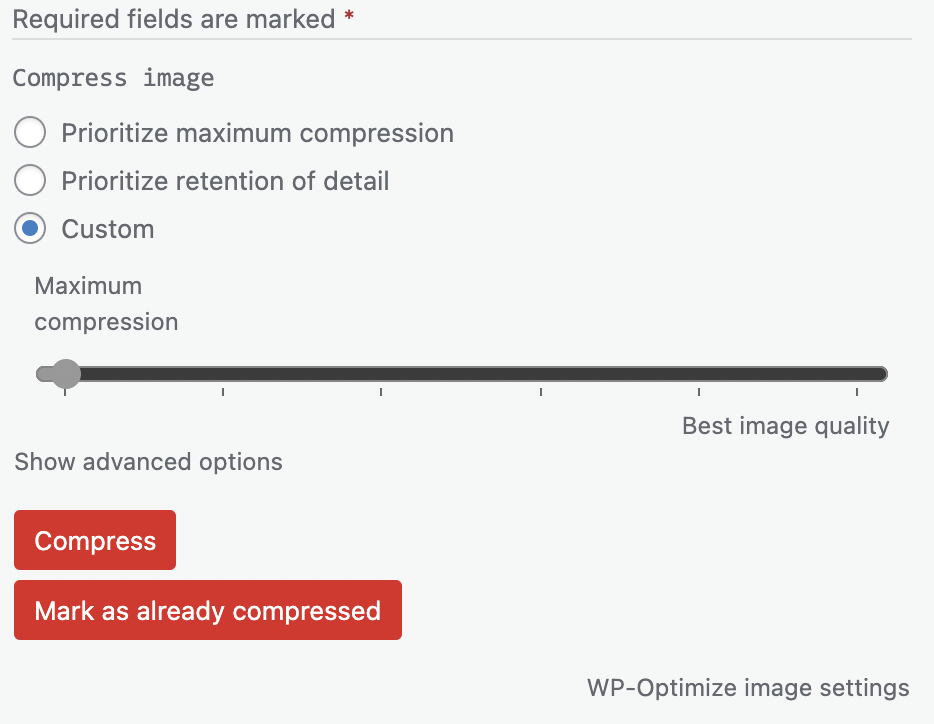
To help reduce file sizes, you may also compress images from this view. Compressing images reduces their file size, but may also affect the details and appearance of an image. If an image has not explicitly been marked as compressed (through the Mark as already compressed button), then the option to compress images appears.
- Prioritize maximum compression: The image will be compressed as much as possible, though details of the image may be lost.
- Prioritize retention of detail: The image will be mildly compressed but will retain the most amount of detail.
- Custom: A slider appears, allowing you to choose the balance of detail/compression best for the image.
After compressing an image using this tool you click Restore to revert back to the original image if you find the compression process has noticeably affected the quality of the image.