Connect Your Email Tool
The Email forms and tools are a great way for you to gather contact information from visitors and establish a consistent audience. You’ll find one email form in the block list and the other in the footer.
There are 3 primary features that may need adjustment when setting up your site. These features are all edited from the Contact tab.
Once you connect your email service to the site, you will be able to collect email contacts as normal to keep visitors up to date on your chapter!
Getting Notified of New Subscribers
When a visitor signs up for your mailing list your site can notify you of that addition. There are just a few steps to make this happen.
- On the "mail" tab of your desired contact form enter your email address as the "to" address. Note: This is set to the site admin email account by default.
- Once your site goes live* change the "from" to "wordpress@yourchapterdomain.net" as opposed to "wordpress@yfc.net". Ex. wordpress@sandiegoyfc.net
- Optional: You can add custom syntax for the notifcation emails by entering in commands from the Special Mail Tags guide on the Contact Form 7 website.
Extra Email Signup Features
- Your different contact forms can subscribe visitors to specific email lists by specifying the appropriate information in the audience or email list ID sections (Specific names of these fields will differ depending on your chosen email software).
Adjusting Features
Mailchimp Connection
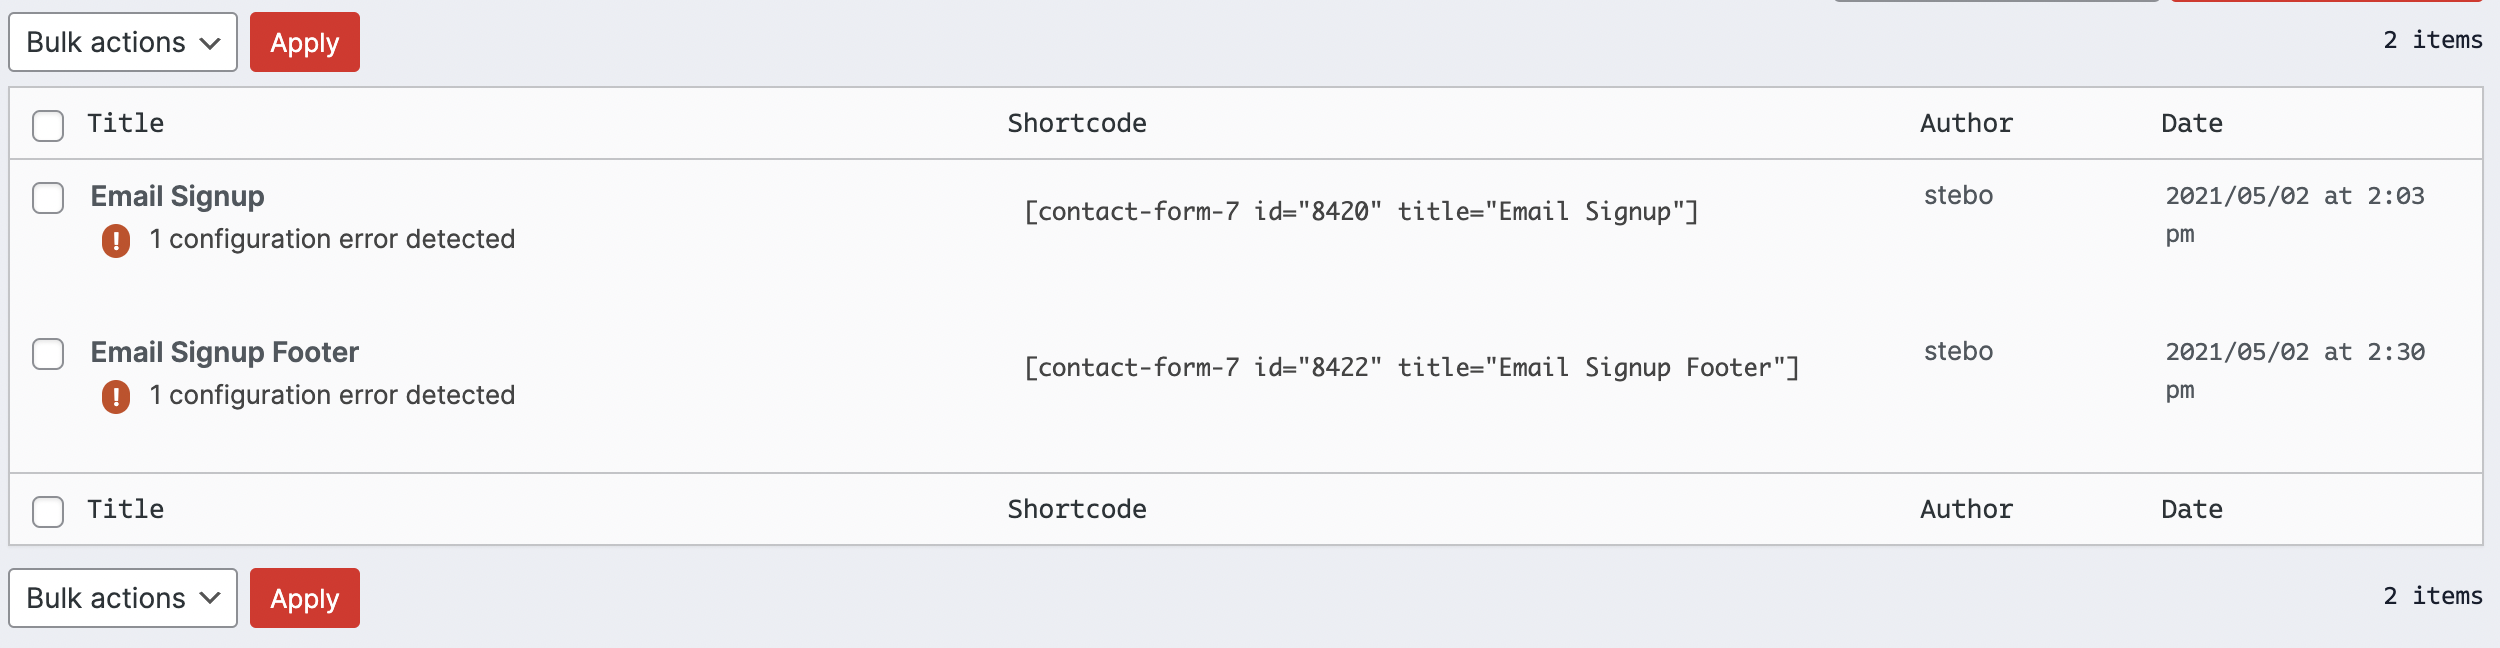
- Access this feature by first navigating to the contact forms page
- Select the form to which Mailchimp will need to be connected (Likely both, but they will need to be completed one at a time)
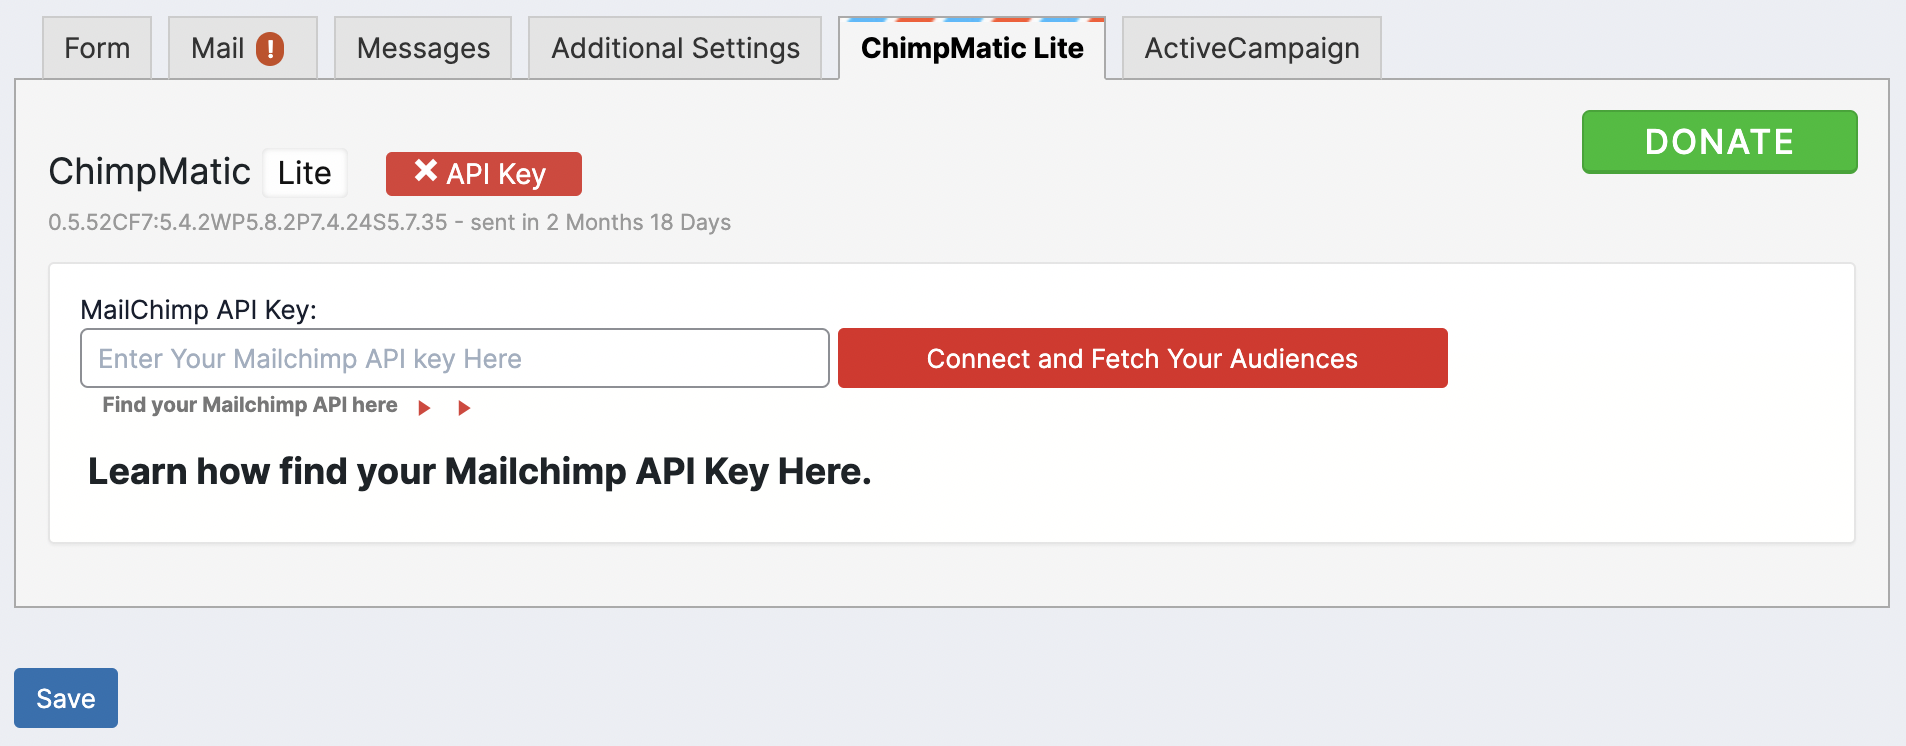
- Click on the Chimpmatic Lite tab at the top of the edit view
- Enter your Mailchimp API key and click connect!
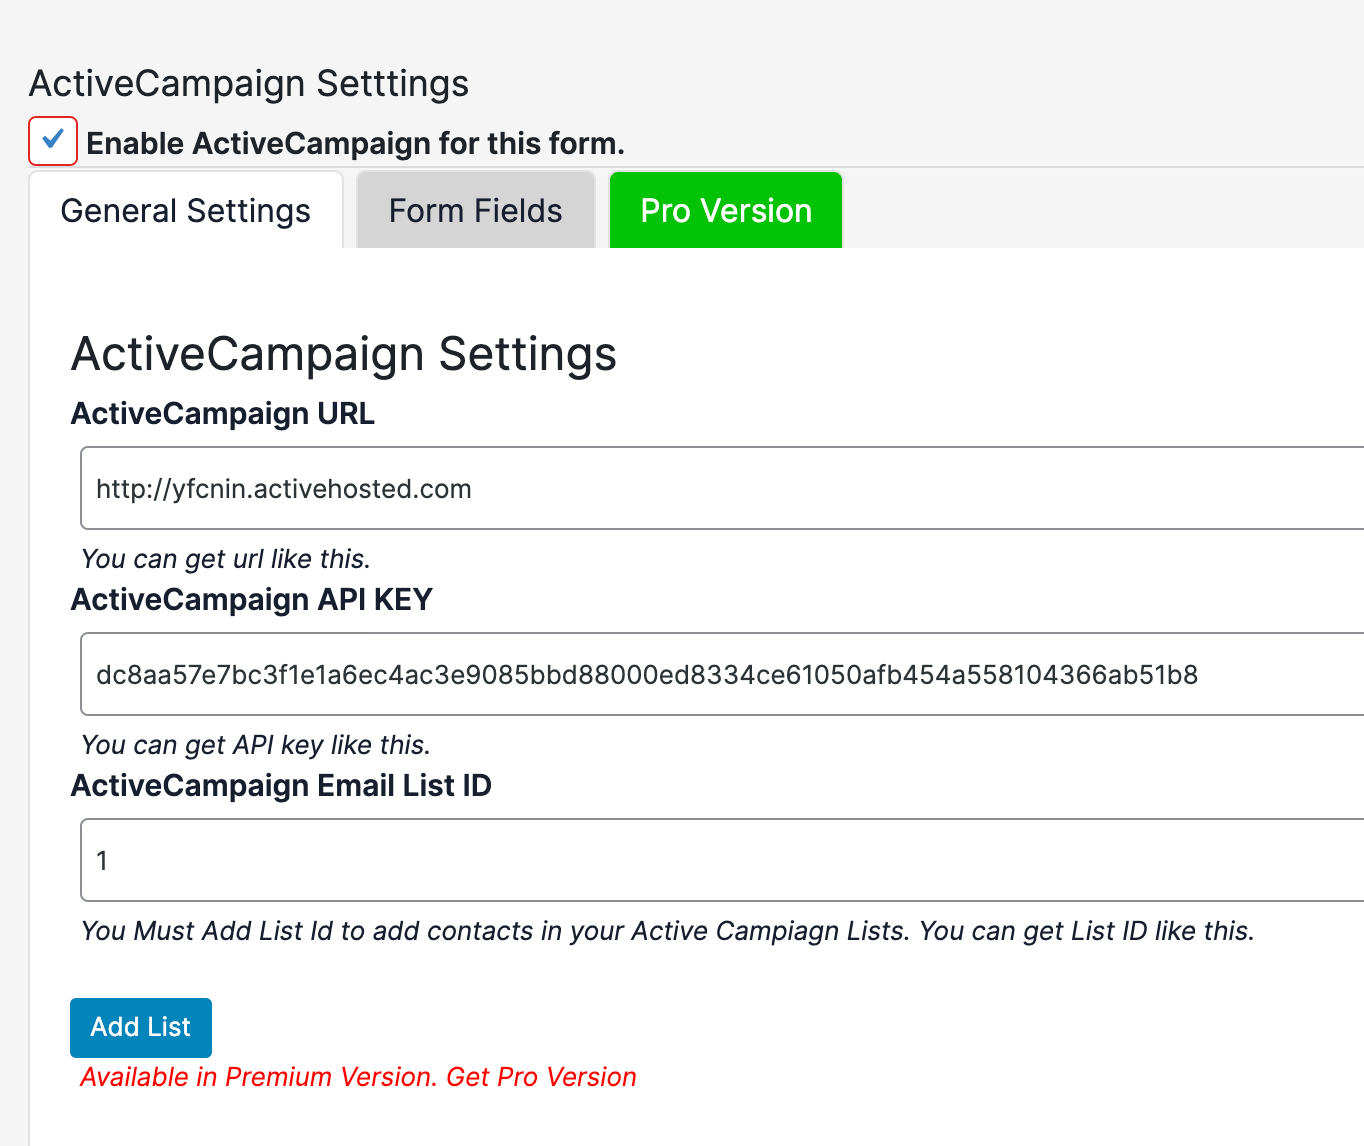
Active Campaign
- Access this feature by first navigating to the contact forms page
- Select the form to which Active Campaign will need to be connected (Likely both, but they will need to be completed one at a time)
- Click on the Active Campaign tab at the top of the edit view
- Enter your Active Campaign information and click connect!
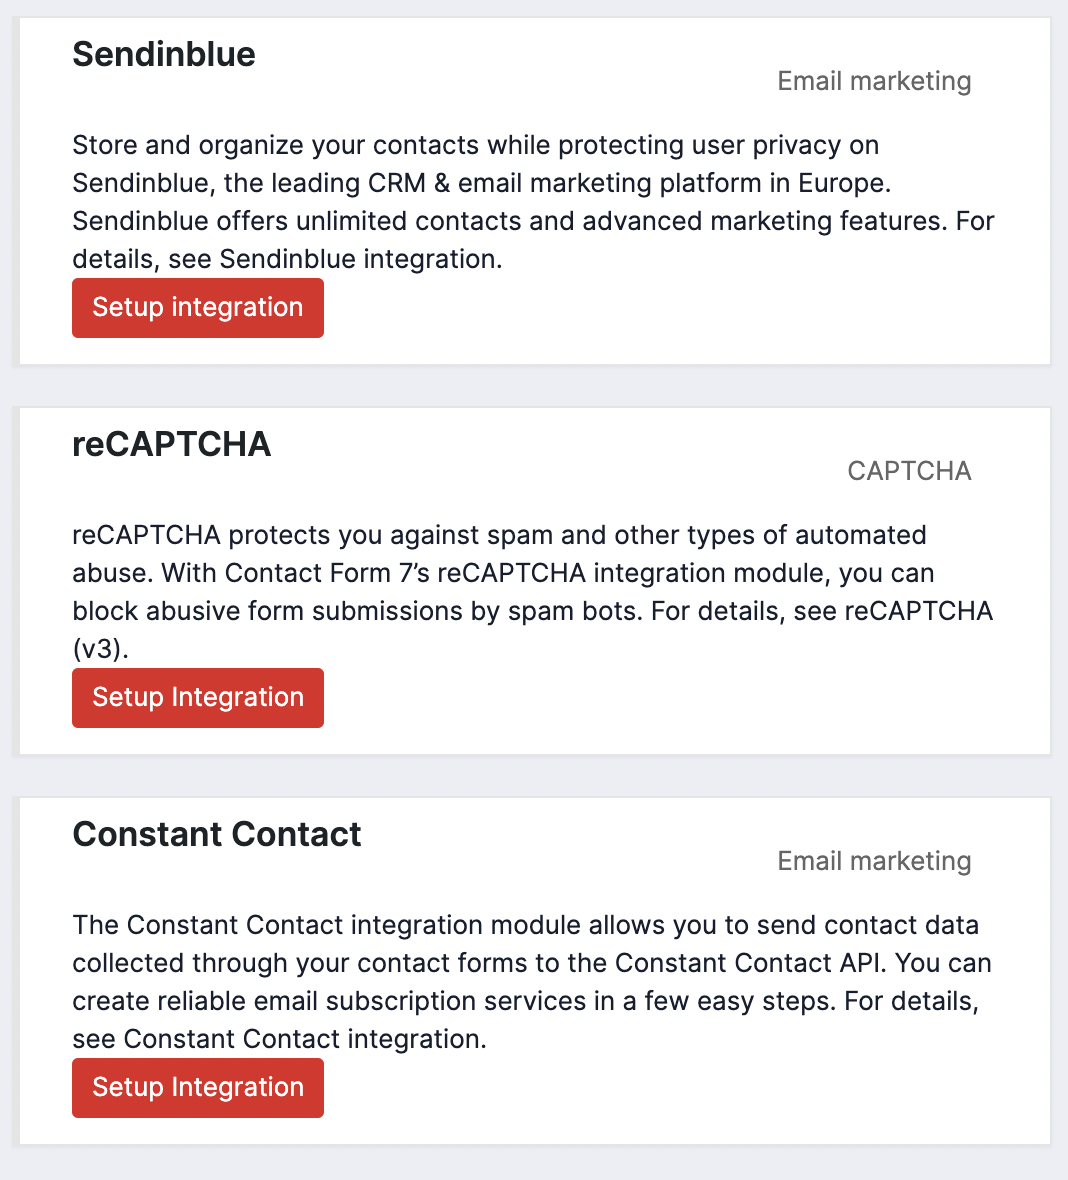
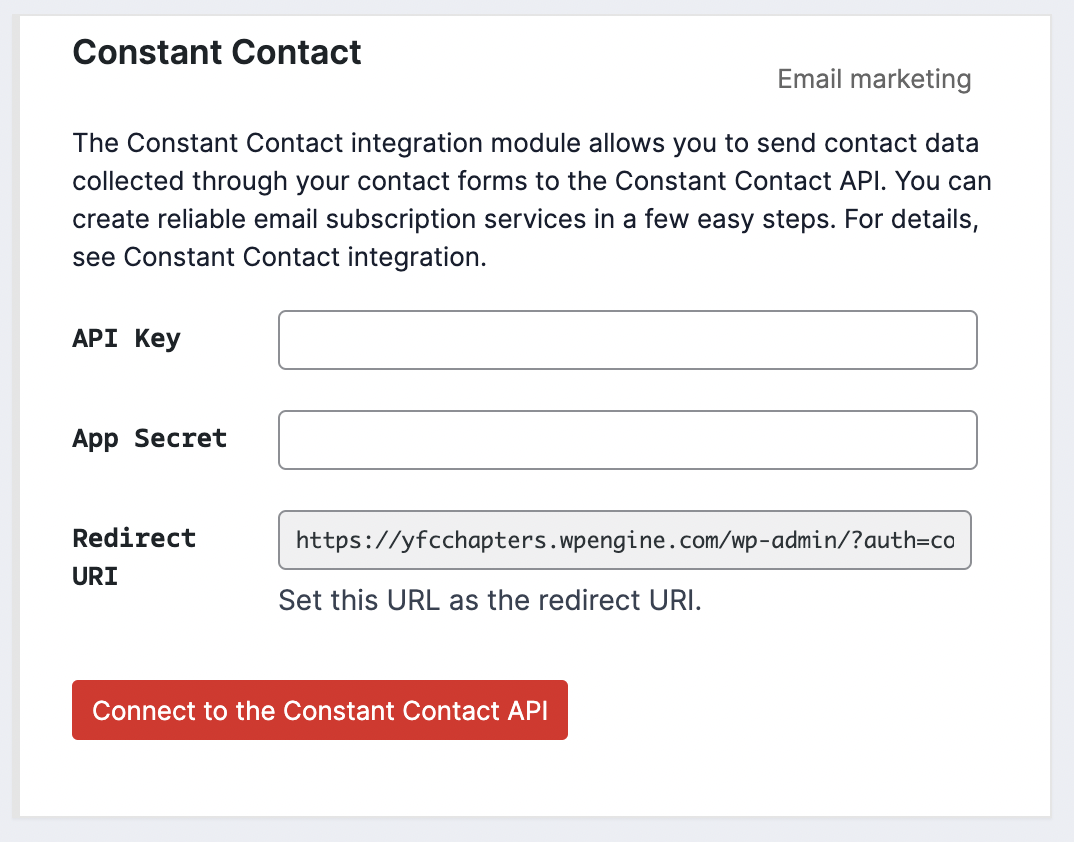
Constant Contact
- Navigate to the Integration tab under "Contact"
- Select Set up integration in the Constant Connection card
- Enter the necessary keys and information, then click connect!